Pages

Saturday, May 1, 2010

Scrapbook Layout 2: Easter

Here is an Easter layout that I created with DCWV's Garden stack and Nana's Kids stack.   All tear bear animals were hand-torn, fluffed, and then shaded with chalk.  All photo mats and journaling tags were fully machine stitched; the photo mats were inked with Color Box pigment ink (pastel). 
 
Full layout

Left page

Right page

   
Hatching chicks Easter title - one of the chicks has dropped his eggshell!

Egg house
The hinges used were just the right size for this house.
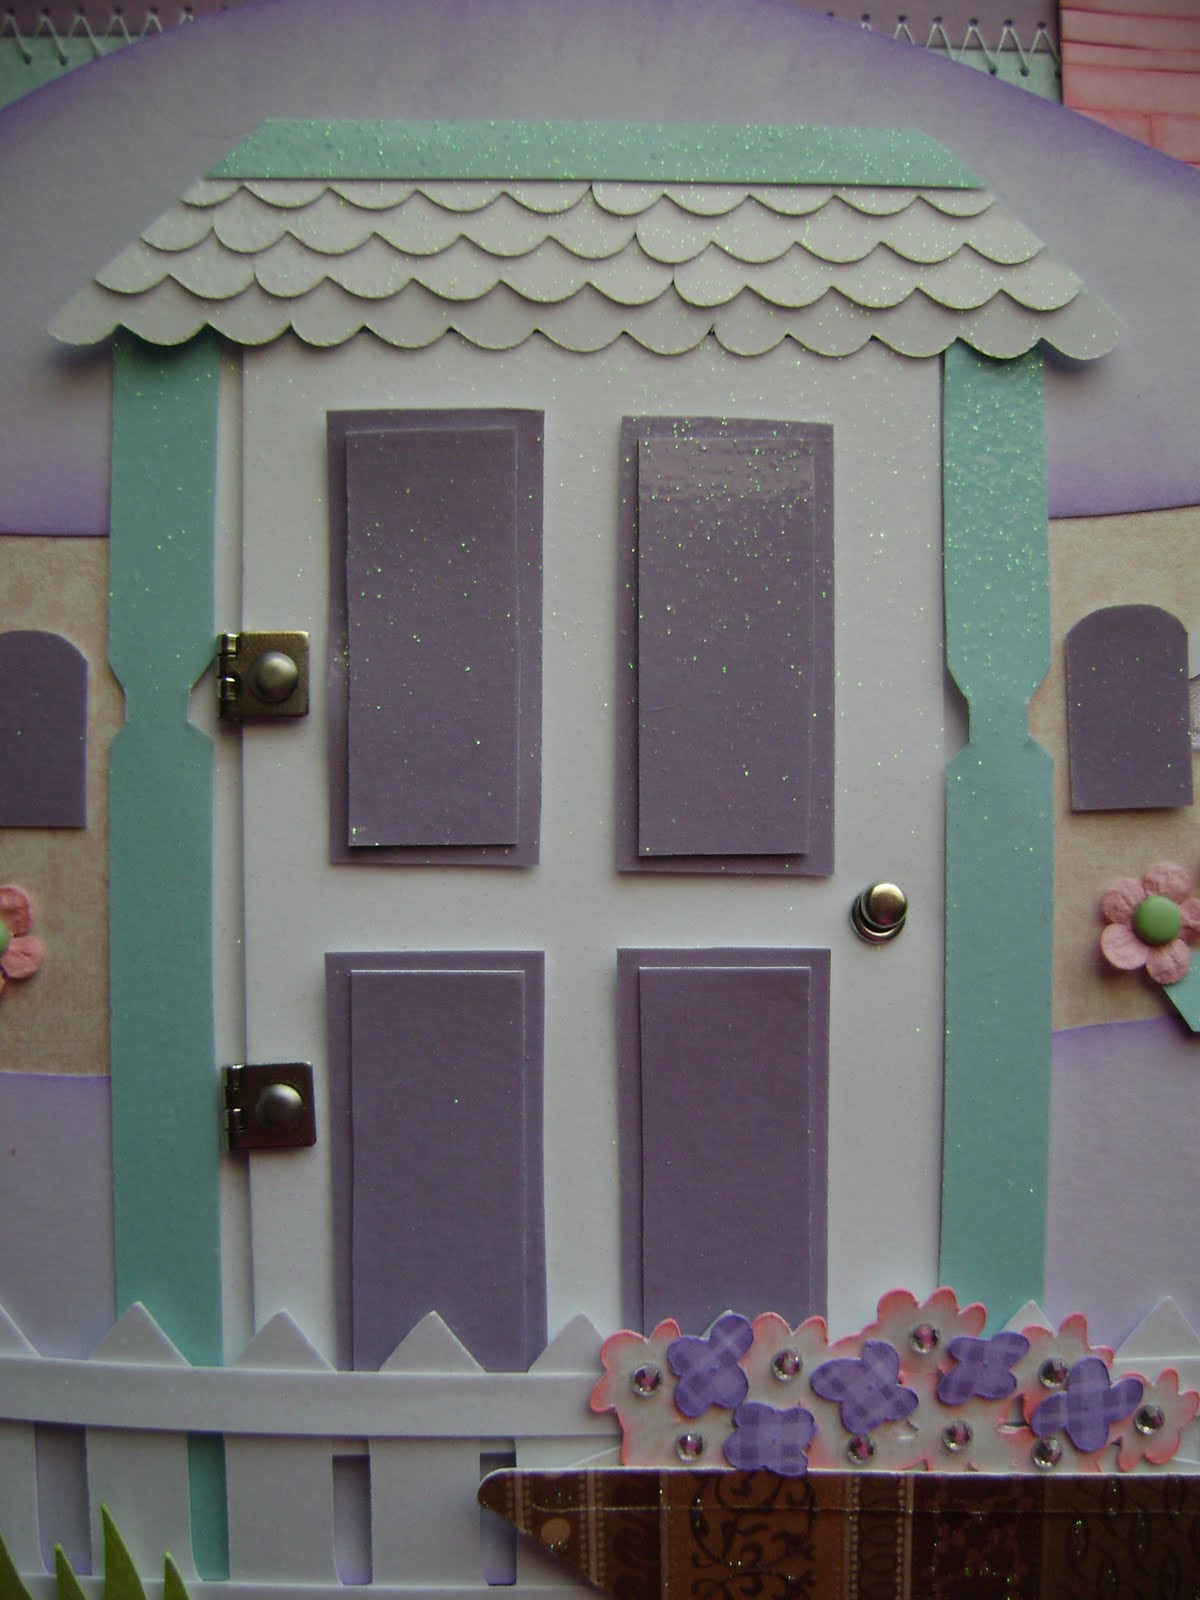
Close-up of the door

Left window
Each flower was secured with eyelets and brads.

Right window
To give some variety and contrast, different colors were chosen for the flowers and their centers.

Embossed rainbow
Saw this idea for embossing a rainbow and just loved it.

Tree

This bird has built herself a comfortable nest.
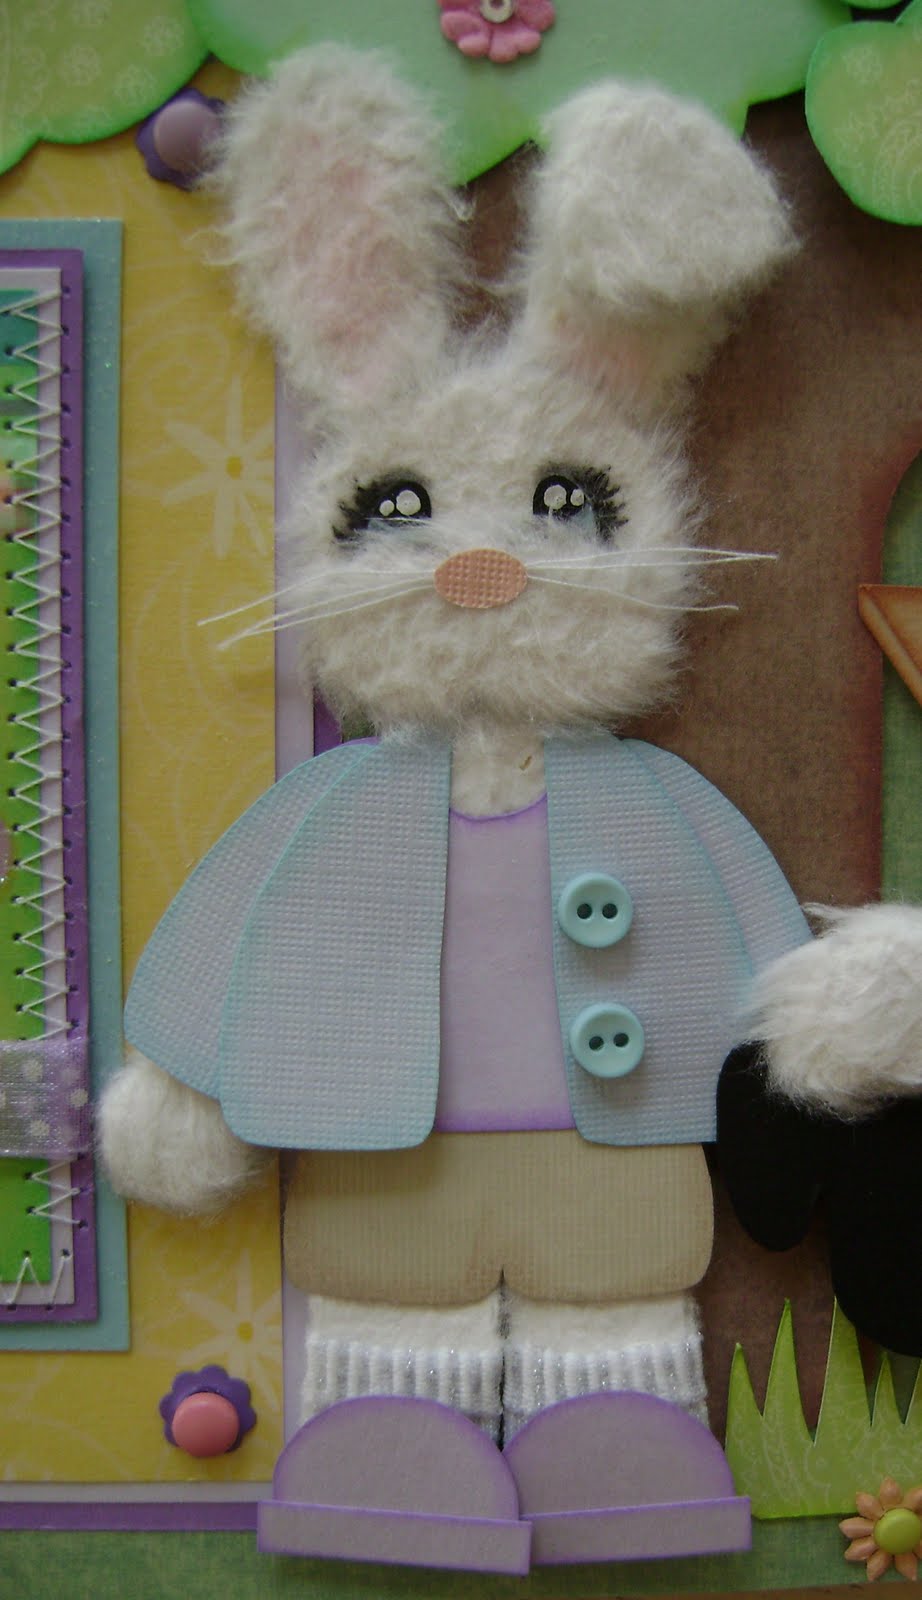
I was happy to find socks for this bunny.
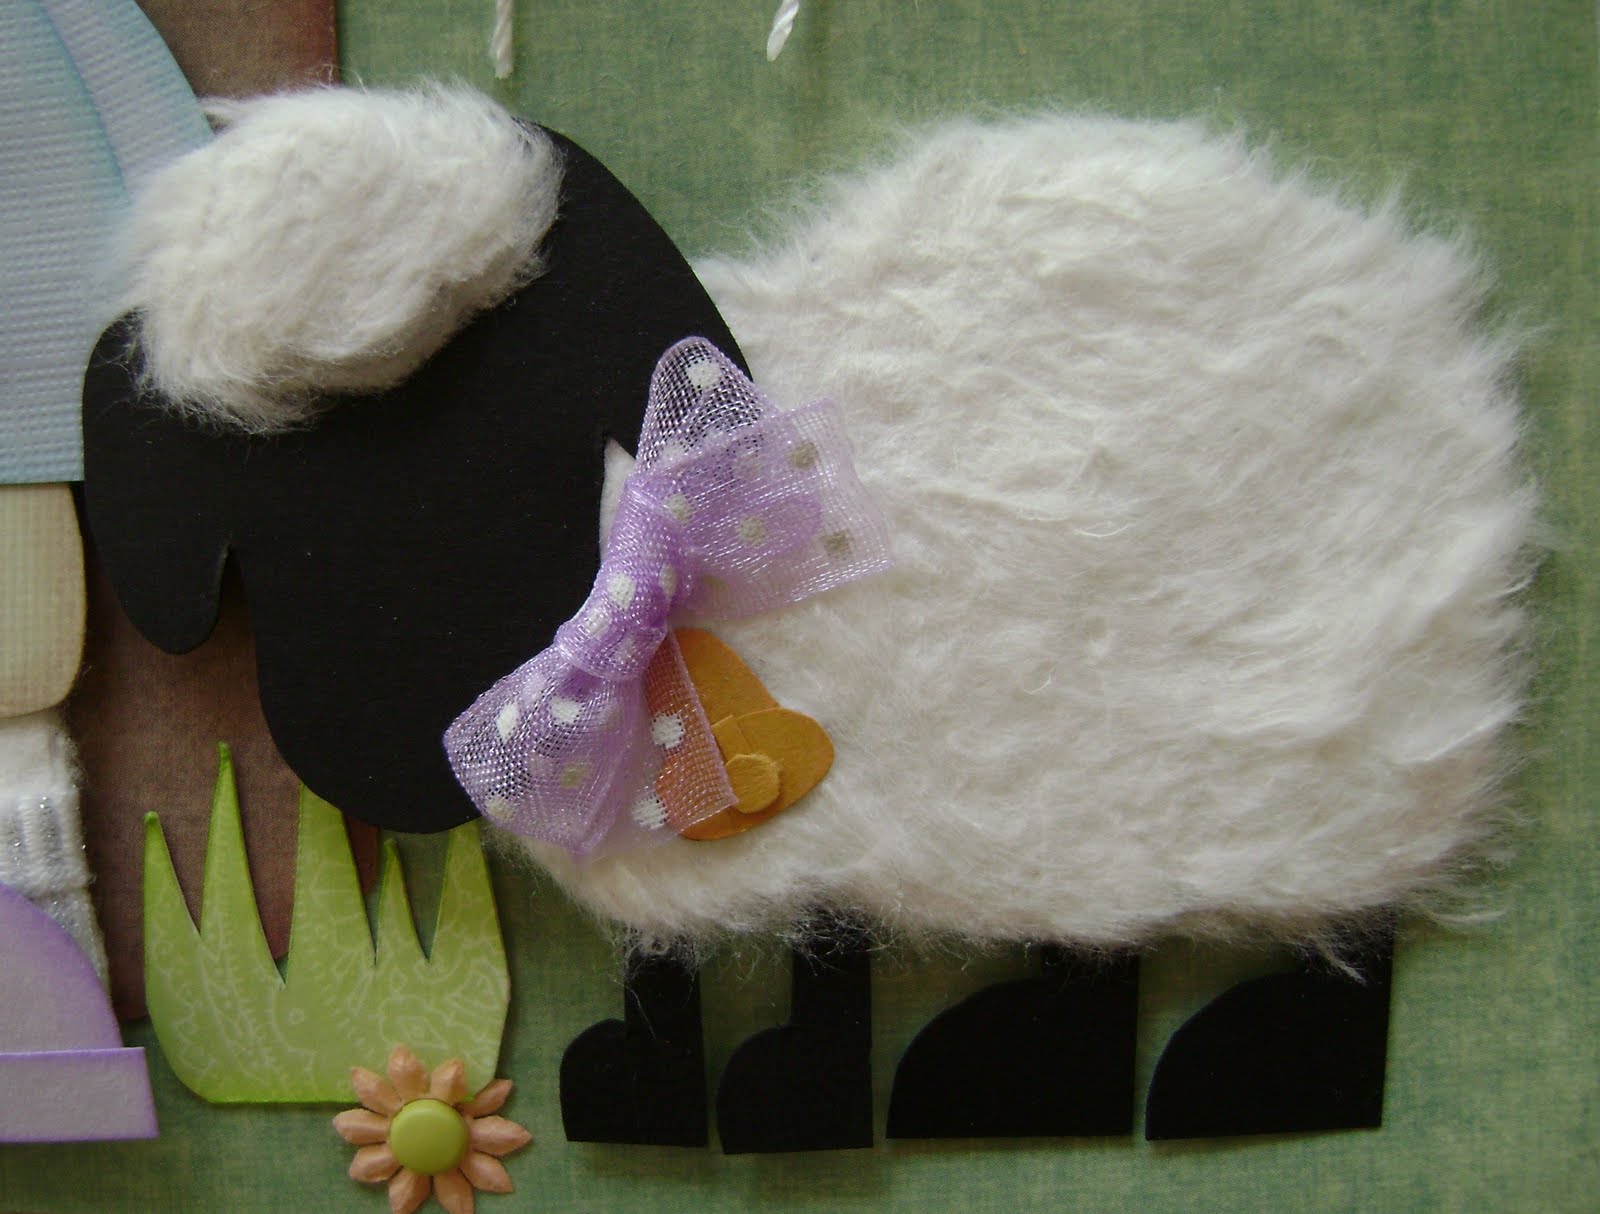
Shy baby sheep

Close-up of sheep bell

Surprise!  A catepillar is hiding in the tree.

This swing looks relaxing.

Snail

Wheelbarrow - looks like someone was collecting flowers.

Since the red plate is metal, and can be a little heavier than other embellishments used, it must be reinforced as much as possible.
 
These flowers have glitter on them, but it is a little hard to see in the picture.
 
A flower charm to match the flowers on the photo mat.
 
I love how this mat turned out; the sheer green ribbon matched the green in the paper very well.
 
Notice that the mats have been stitched as well?
 
There is also glitter on this photo mat, on the butterfly and flowers.  All mats were also reinforced in the corners with brads and eyelets.
 
Front of the journaling tag

Back of the journaling tag

Additional journaling tags

I really liked the sturdiness and pastel combination of these tags.


Friday, April 9, 2010

Cricut Project 1: Mickey Room Sign

Here is a fun project offered by Cricut; it is featured in the Mickey & Friends cartridge booklet.


What a fun and easy way to brighten up a room! This colorful wood sign will delight any little occupant. Make it in minutes following these simple directions.

Materials:
Wood sign board
Acrylic paint: black, red, blue
Adhesive

(If you have a Cricut machine):
Cardstock: black, white, flesh, red, yellow
Cricut font cartridge, sticker letters, or alphabet stencil
Cricut Mickey & Friends cartridge

(If you do not have a Cricut machine):
Click here to buy a pre-assembled Mickey
Sticker letters or alphabet stencil

Step One:
Paint wood sign board with acrylic paints as desired.


Step Two:
Using Mickey and Friends cartridge and black cardstock, cut one 5 1/2" .
Using flesh-colored cardstock, press Layers: Face/White feature and cut one 5 1/2" to cut face. Using white cardstock, press Shift and Layers: Face/White feature and cut one 5 1/2" to cut eyes and gloves.
Assemble Mickey head


Step Three:
Create phrase.

Cut one 6" x 3.75" rectangle of white cardstock. Mat onto red cardstock and finally black cardstock. Create name or phrase on white cardstock using a Cricut font cartridge, sticker letters, or alphabet stencil.


Step Four:
Assemble sign.

Adhere phrase across bottom of sign board and apply Mickey head above as shown.


Thursday, April 8, 2010

Scrapbook Tear Bears 1.1-1.4: Easter

In honor of Easter, I created 4 cute Easter tear bears. Each bear comes in an Easter dress, a matching bunny ear headpiece, and a pair of cute socks and shoes. The pink is my favorite; which one is yours?

The tear bears were all handmade out of mulberry paper; it is really amazing that paper can create such fuzziness!  Each bear was hand-torn, fluffed, and then shaded with chalk. 


The fabric used to make her dress looks like denim; it would be cute to make some jeans for the tear bears one day.   
 
I liked the way the colors came together for this dress, with the contrast of the different shades of pink.  However, the fabric was difficult to work with; it kept wanting to pop up and did not want to stay put.  I'm not sure if I will choose to work with this fabric again.
 
The style of this dress is different from the other three dresses; I wanted to offer some variety, besides just a difference in color and print.
 

I am very happy to have found this fabric.  It is perfect for making tear bear socks, and it's nice that the stripes on them are glittery.


Sunday, March 21, 2010

Scrapbook Layout 1: Candy Factory

This layout was created with DCWV's Glitter Sweet Stack: it includes a pre-sewn journaling tag and four photo mats, and features three sweet tear bears, a conveyor belt, a candy stand, and yummy polymer clay lollipops.  The tear bears, paper piecings, and polymer clay pieces were all handmade.  I have to admit, during the course of this layout, I had a few candy cravings!


The "memories" title was made with the Cricut machine, using the Makin' the Grade cartridge.


These photo mats came out very sturdy, which I liked.  No, seriously, I was really pleased.  :)


The tag and mats were all inked with Colorbox (bright) pigment ink. 

The swirls on the lollipops are actually swirls of glitter; the candy pieces are also speckled with glitter.


Each slat was individually inked and pieced; it took awhile, but I think it gave the slats an extra dimension. 


The candy stand is made with glitter cardstock; it is a shame the picture doesn't show the glitter too well.  :(

Bags of sugar, ready to be made into candy!


I liked how this yellow dress came out; the ruffles added an extra layer and detail.


Wednesday, March 17, 2010

Craft Tip 2: Prevent Ribbon from Fraying by Sealing with Glue

THE HASSLE

The use of ribbon in crafts is very common, and always adds a nice decorative touch. However, based on the material of the ribbon, certain ribbons are more prone to fraying than others.

This may cause some crafters to stay away from using particular materials, thus reducing their options, and preventing their full creativity potential.

THE SOLUTION

An easy solution is to seal the ends of ribbon with a clear-drying glue; no more worrying about ribbon fraying, and no more having to cut the ribbon shorter, and shorter...
Just cut and prepare the strip of ribbon, as directed for the project. Before glueing down the ribbon to your project, lightly dab the ends of the ribbon with glue, let dry, and now the ribbon is ready for use.

Make sure to minimize handling of the ribbon until the glue is dried; this will prevent the glue from picking up any possible dirt, and giving it a "dirty" look to where the glue was applied.

SEAL FABRICS TOO

Using glue to seal ribbon is a method that can easily be used elsewhere; there are many possibilities. Fabric, like ribbon, is also prone to fraying, and can be easily remedied by sealing with some clear-drying glue or fabric glue.

Related Posts Plugin for WordPress, Blogger...